
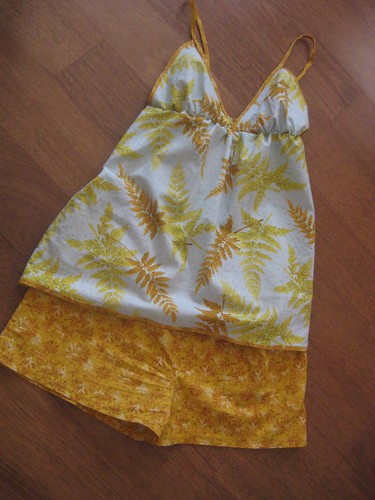
 The instructions for drafting the shorts are fairly straight-forward, although I was not 100% sure what the rise was (the distance from the waist to the crotch seam--different on the front and the back) or if I was measuring it correctly. The resulting pattern is a little boxy, but it works. It would have worked better if I had paid more attention when laying out the pattern pieces as I ended up with two of the same front pieces instead of mirror images. This problem was compounded when I assumed I had cut the back piece incorrectly and corrected that piece by adding on the crotch piece. Then when I sewed my leg together I ended up with two of the same legs! To fix that problem I sewed the legs together with the crotch seam not aligned and adjusted to make the pieces even out. The result looks and fits fine, but it could be better. I sewed a little button on the front so I would know which side I intended to be the front.
Next time I will add a curve to the back pieces for a better fit and lower the waist as I typically don't wear my PJs at my natural waist.
- If you are going to wear this as a nightie, you might want to add a few inches to the bottom. You may not be able to do this with one yard so consider using coordinating fabrics or using a larger piece of fabric from your stash.
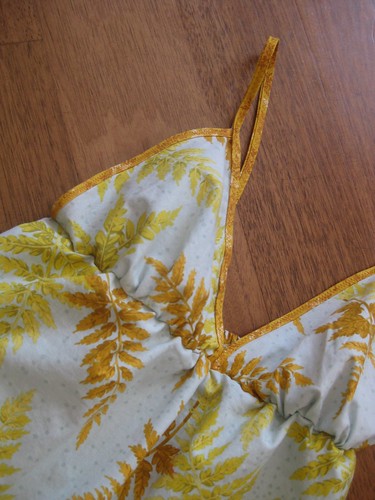
- The triangles for the top are pretty small. I am a B cup, maybe a B+, and I cut out the largest size. It works, but next time I might make the triangles a bit bigger. Size up! If you are bustier, you can easily trace the triangles larger.
- The casing instructions are fiddly. I would recommend either making the casing first, then sewing the triangles to the top or sizing the front down to fit your underbust size and shirring the back.
cute! is it comfie?
ReplyDeleteThose are cute. I might have to check out those is smaller sizes for my daughter.
ReplyDeleteThose fabrics are fabulous together! Sweet dreams...
ReplyDeleteI love the button idea to mark the front of the shorts. My sons are forever asking me which side is the back for the pants I've made them, though they're skin/fashion sense is irritated if I add a "label" in the back. I'm totally going to try a button next time! And your pj's look really comfy in the sheet fabric (is that what that is?).
ReplyDeleteIs that quilting cotton fabric?
ReplyDeleteYes, both of the fabrics are quilting fabrics.
Delete